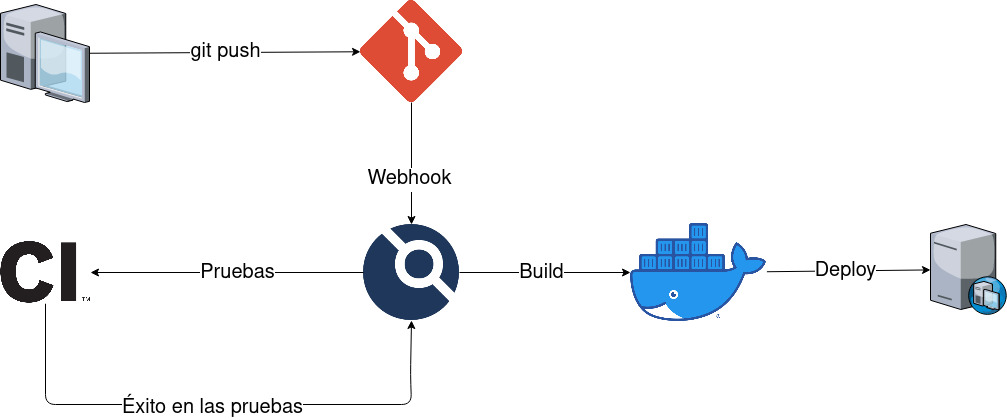
In this post we are going to see how to configure our own CI/CD environment with Drone, integrated with Traefik as reverse proxy and NixOS as operating system using github repositories.
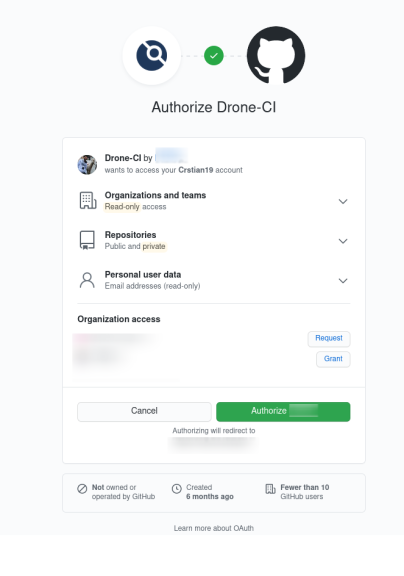
First we need to create an OAuth application in github and our RPC secret can be seen in this post or also in the drone docs.
To create our RPC secret we will do the following:
$ openssl rand -hex 16 bea26a2221fd8090ea38720fc445eca6
Once we have our client ID and our client secret we proceed to create our docker-compose.yml to deploy our drone container.
version: '3.7'

services:
  drone-server:
    container_name: drone-server
    image: drone/drone:1
    restart: unless-stopped
    volumes:
      - ./drone:/data
    environment:
      - DRONE_GITHUB_CLIENT_ID=<Your_Client_ID>
      - DRONE_GITHUB_CLIENT_SECRET=<Your_Client_secret>
      - DRONE_RPC_SECRET=<Your_RPC_secret>
      - DRONE_SERVER_HOST=<Your_URL>
      - DRONE_SERVER_PROTO=https
      - DRONE_USER_CREATE=username:<Your_Github_username>,admin:true
    labels:
      - traefik.enable=true
      - traefik.http.routers.drone.entryPoints=web-secure
      - traefik.http.routers.drone.rule=Host(`Your_URL`)
      - traefik.http.routers.drone.tls.certresolver=default
Then we deploy our container with: > $ docker-compose up -d
Once our server is up, we are going to run our host runner executor and for this we download the drone-exec binary from the drone web site:
$ curl -L https://github.com/drone-runners/drone-runner-exec/releases/latest/download/drone_runner_exec_linux_amd64.tar.gz | tar zx
Once downloaded we have to move it to /root/bin/ and then in the configuration.nix add the following:
environment.etc.drone-runner-exec = {
  target = "drone-runner-exec/config";
  text = ''
  DRONE_RPC_PROTO=https
  DRONE_RPC_HOST=<Your_URL>
  DRONE_RPC_SECRET=<Your_RPC_secret>
  DRONE_UI_USERNAME=root
  DRONE_UI_PASSWORD=root
  '';
};

systemd.services.drone-runner-exec = {
  description = "Drone Exec Runner";
  startLimitIntervalSec = 5;
  serviceConfig = {
    ExecStart = "/root/bin/drone-runner-exec service run --config /etc/drone-runner-exec/config";
  };
  wantedBy = [ "multi-user.target" ];
  path = [ pkgs.git pkgs.docker pkgs.docker-compose ];
};
Next:
nixos-rebuild switch
Now we access our Drone URL and authenticate with our Github account.
So far we have set up our infrastructure with Drone, from here on everyone can do what they need, in my case let’s see how I have it set up so that every time I create a post and push it to the github repo, the deployment is automatically done and the nginx container is updated with the modifications.
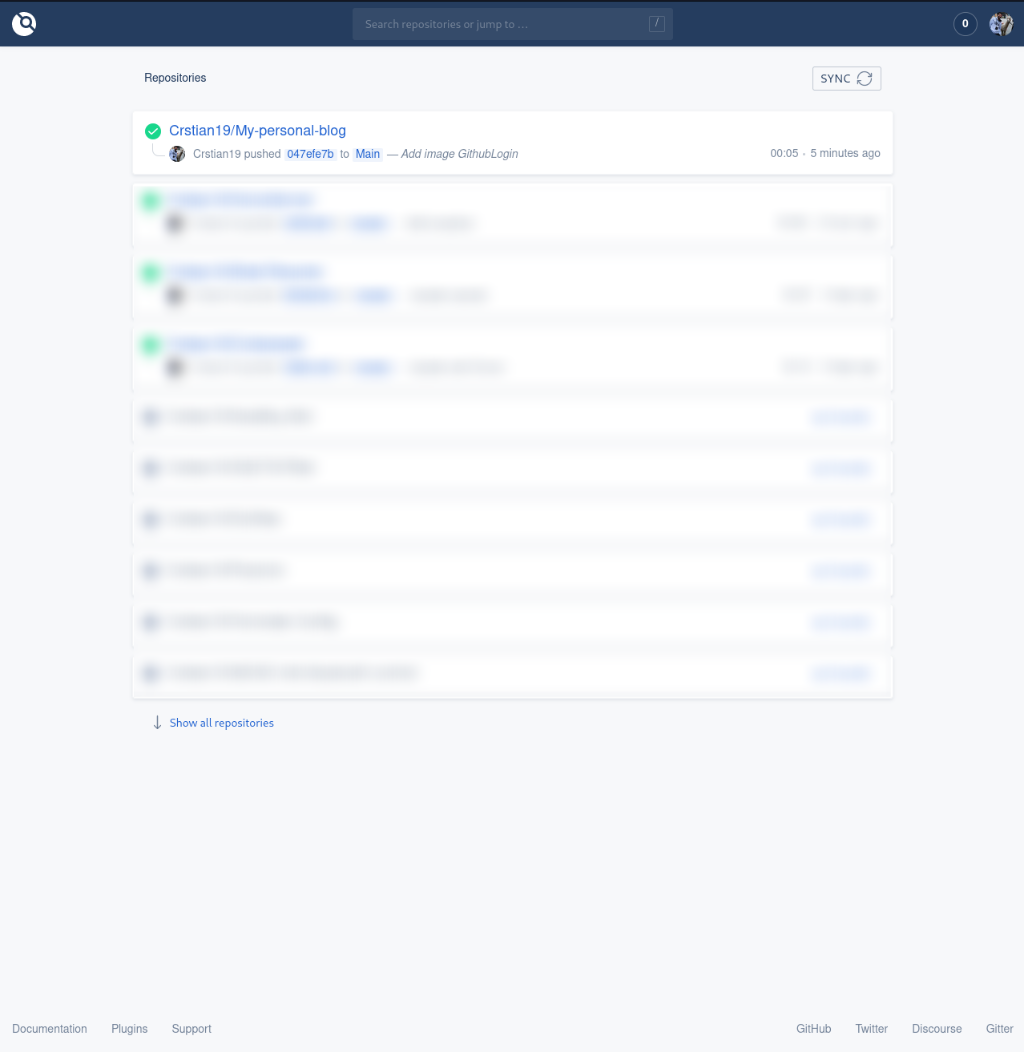
Once inside the web of our drone, we activate the repository that we want in my case the repository of this blog.
To perform the configuration our repository must have 3 essential files in the repository root:
In this file we basically configure the actions to be performed by drone in our case simply performs the docker build and then raises the container.
kind: pipeline
type: exec
name: default

platform:
  os: linux
  arch: amd64

steps:
- name: build
  commands:
    - docker build -t bloglord .

- name: run
  commands:
    - docker-compose down -v
    - docker-compose up -d --build
Little to comment on this file, simply copy the contents of public in the html folder of the nginx container.
FROM nginx:alpine
COPY public/ /usr/share/nginx/html
The compose of the container where we provide traefik labels.
version: '3.7'

services:
  bloglord:
    image: bloglord
    container_name: blog
    restart: unless-stopped
    labels:
      - traefik.enable=true
      - traefik.http.routers.bloglord.entryPoints=web-secure
      - traefik.http.routers.bloglord.rule=Host(`blog.crstian.me`)
      - traefik.http.routers.bloglord.tls.certresolver=default

networks:
  default:
    name: bloglord-network
Once all this is done we can check it by performing a commit where we will see how we have automated the modifications to the blog.
If something went wrong we could see it in the activity feed of each commit.
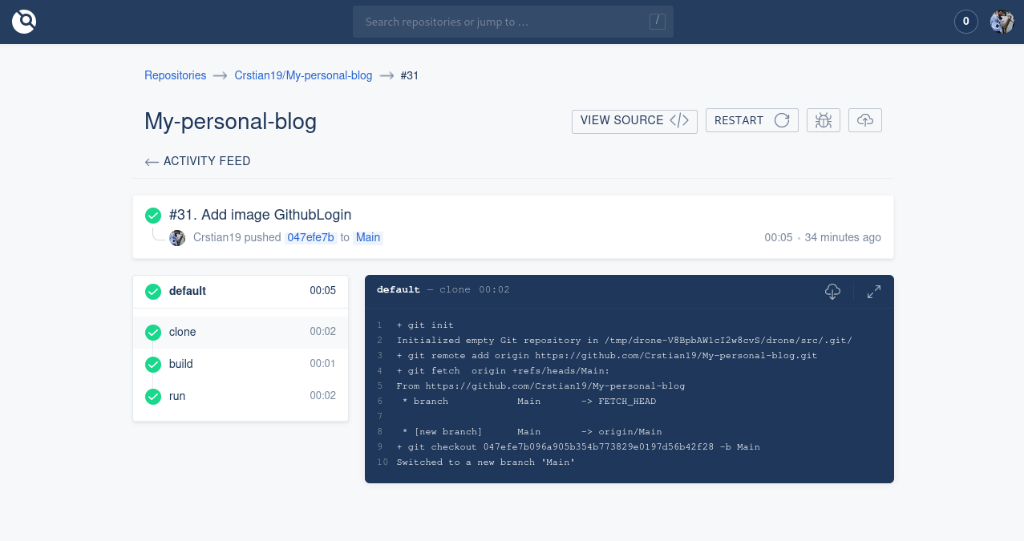
And our Drone would be ready for everything we need.

I hope you found it useful.
