In this post we are going to see how to create our first repository and have our code ordered in Github. We are going to learn the basics and the necessary commands for it, that’s why I have titled it github for noobies or dummies like me.
Git is the most popular version control system.
Git is the most popular version control system and for good reason. In this post, we will go over the basics of what git is and how to use it inside the command line. We will examine and work with all the basic and most important commands, such as add, commit, push…
Git is an essential version control technology for developers and programmers.

A version control system allows us to track the history of a collection of files. These versions are stored in a specific location, usually called a repository.
Prerequisites
If you have a GitHub account and have installed and configured Git on your computer, skip to the next step.
If you don’t have a GitHub account, go here and sign up for a free one. See how to install and configure Git here. We need the tool with terminal in case we are on windows. Follow the links to download and install it.
You can check if Git is installed using the following command:
git–version
Creating our first repository
In our pc we are going to create a folder for our project. We will call it for example demo-git.
Using the command console we move to that folder and add a local repository using the following command:
git init
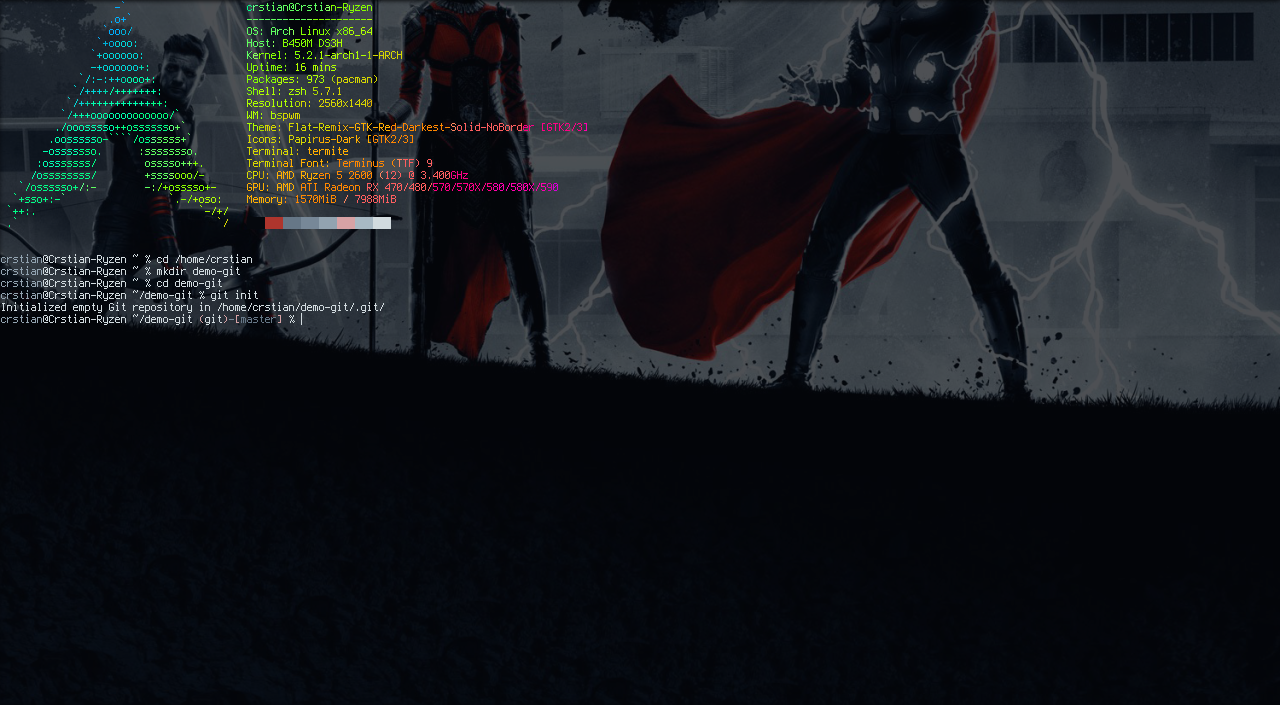
With this command we simply initialize an empty local repository, now our folder is initialized as a Git repository and we can do all the git stuff in it.
Adding files to our local repository
After we have been working on our project and created some files, it is time to prepare those files for uploading.
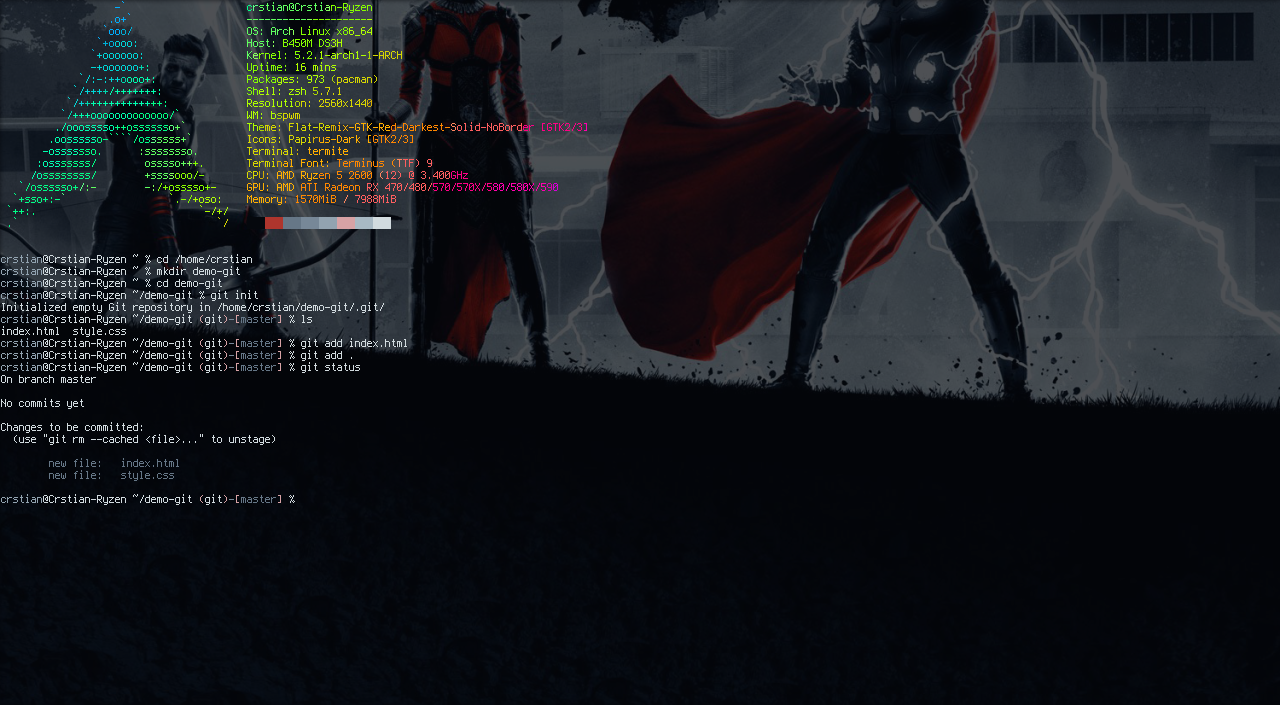
For example we are going to add the files named index.html and style.css.
To add each file separately we use the following command:
git add index.html
In case you want to add both files at the same time:
git add index.html style.css
Finally, if you want to add all the files contained in the folder:
git add .
To see the files we have added we can use the following command:
git status
“Commit” the changes
After adding those files to the staging area, we can create a checkpoint called a commit. Each commit is usually created after we have finished working on a certain feature or fixing a certain bug. These commits can be used to control which features were added in which commits and by whom, so we can easily control or even revert the whole commit if there are any bugs in the code.
A commit in a repository could be said to be like a giant copy and paste, but even better!
To add a commit we use the following command:
git commit -m “commit message”
The -m means that we are going to add a certain message.
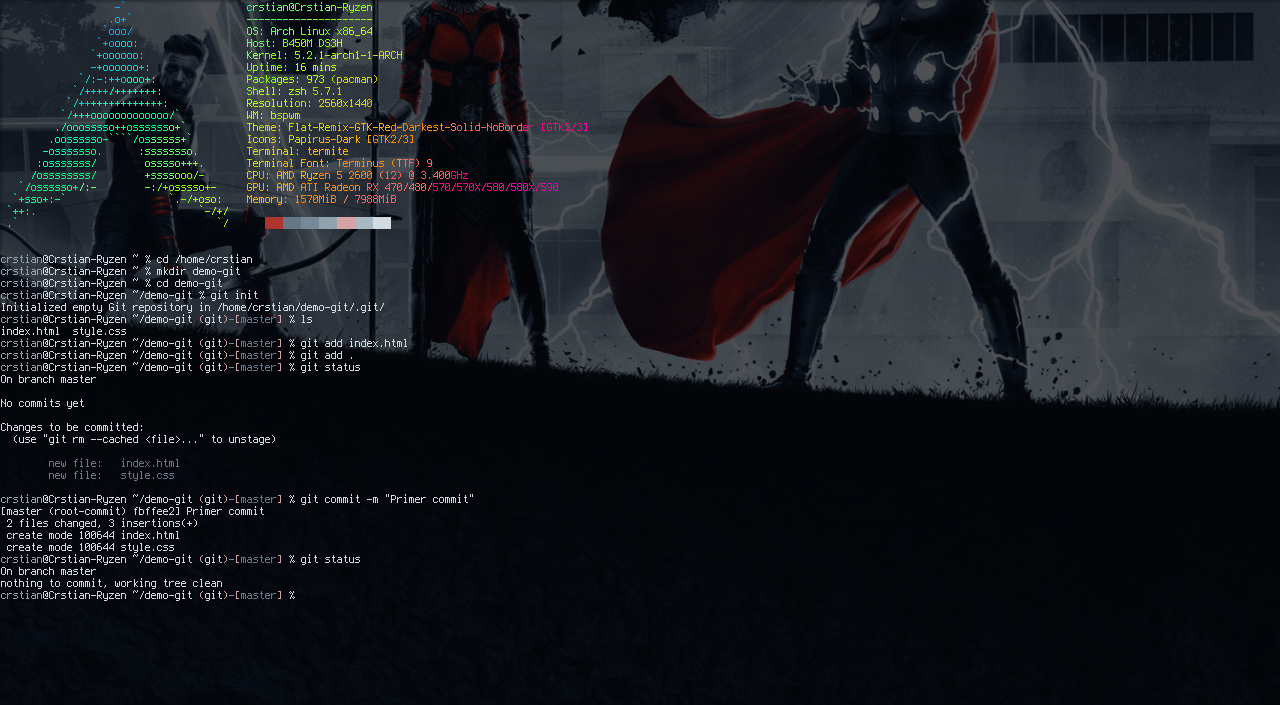
In this example, we are going to create our first commit, we are going to make a commit with the message “First commit”.
We can do this by typing git commit -m “First commit”.
The commit message should indicate what code changes were made in that particular commit.
“Pushing” your changes to your master branch
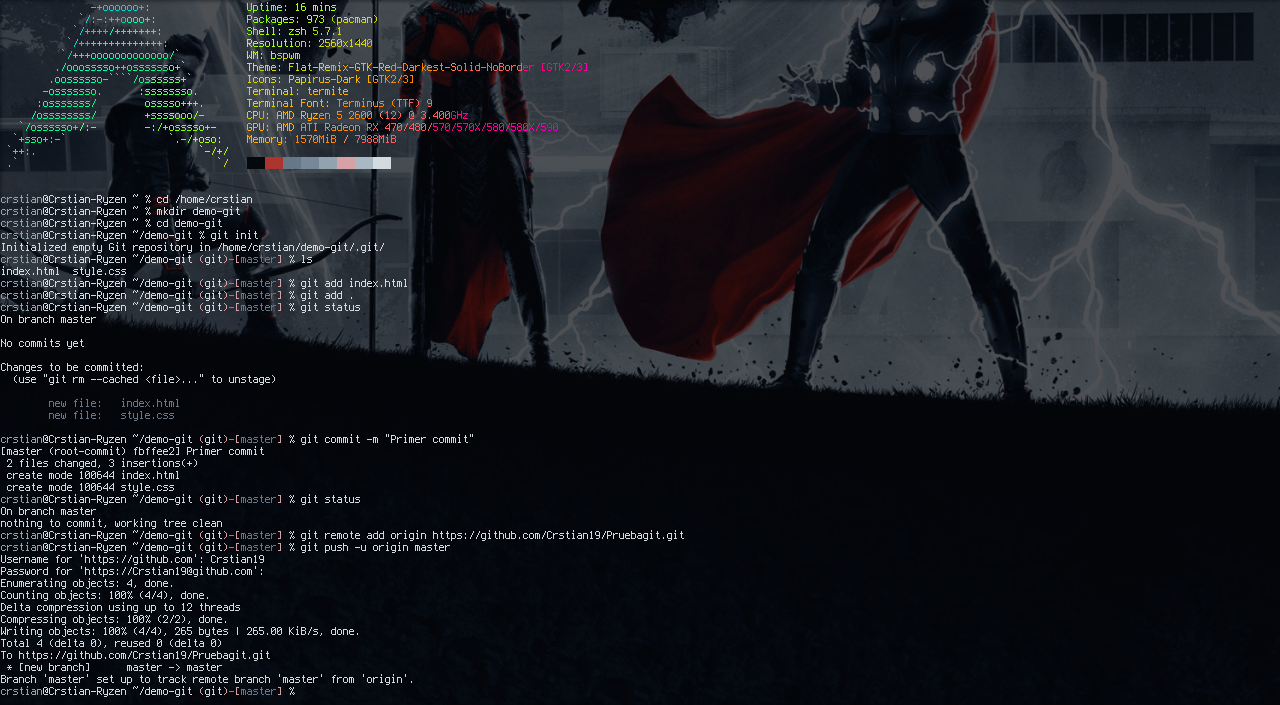
When all the files are added and committed, the only thing left to do is to “push/upload” them to our remote repository.
But before that we have to so to speak link our local repository to our github repository with the following command:
git remote add origin (Link de nuestro repo)
The first time we push files to a remote directory, we have to execute the following command:
git push -u origin master
From the second push we will only have to execute the following:
git push
Some commands that may also be useful:
List all branches
git branch
Switching between different branches
git checkout -b
Revert last commit changes
git revert
That’s all!
I hope it served as an introduction to create your first repository 😉.
